

After moving into my first apartment with my boyfriend last year, we were gifted a bunch of stuff from our friends and family. Who knew everyone was hoarding a ton of old furniture and decorations? One of the things we received from my best friend’s mom was a queen-size mattress pillow topper. The topper ended up being too soft and made us sink even deeper into my old mattress so we decided to not use it. After it sitting on the floor for weeks during which we kept saying “Today would be the day we throw it out!” and that of course, never actually happening, I decided I would use it to make something with it, and so with a lot of jumbo yarn, I made a pouf!
I had never worked with jumbo yarn before but I knew it was good for big projects because it works up quickly. I looked through a bunch of patterns on YouTube, Ravelry, Etsy, and Pinterest but I didn’t find anything that WOWed me. I tried a few of them, but chenille jumbo yarn can be a little tricky to work with, and I ended up frogging my project a bunch of times. I was worried the yarn would start to get too loose and look funky so I decided to just wing up a pattern using inspos from some of the patterns I saw like this one.
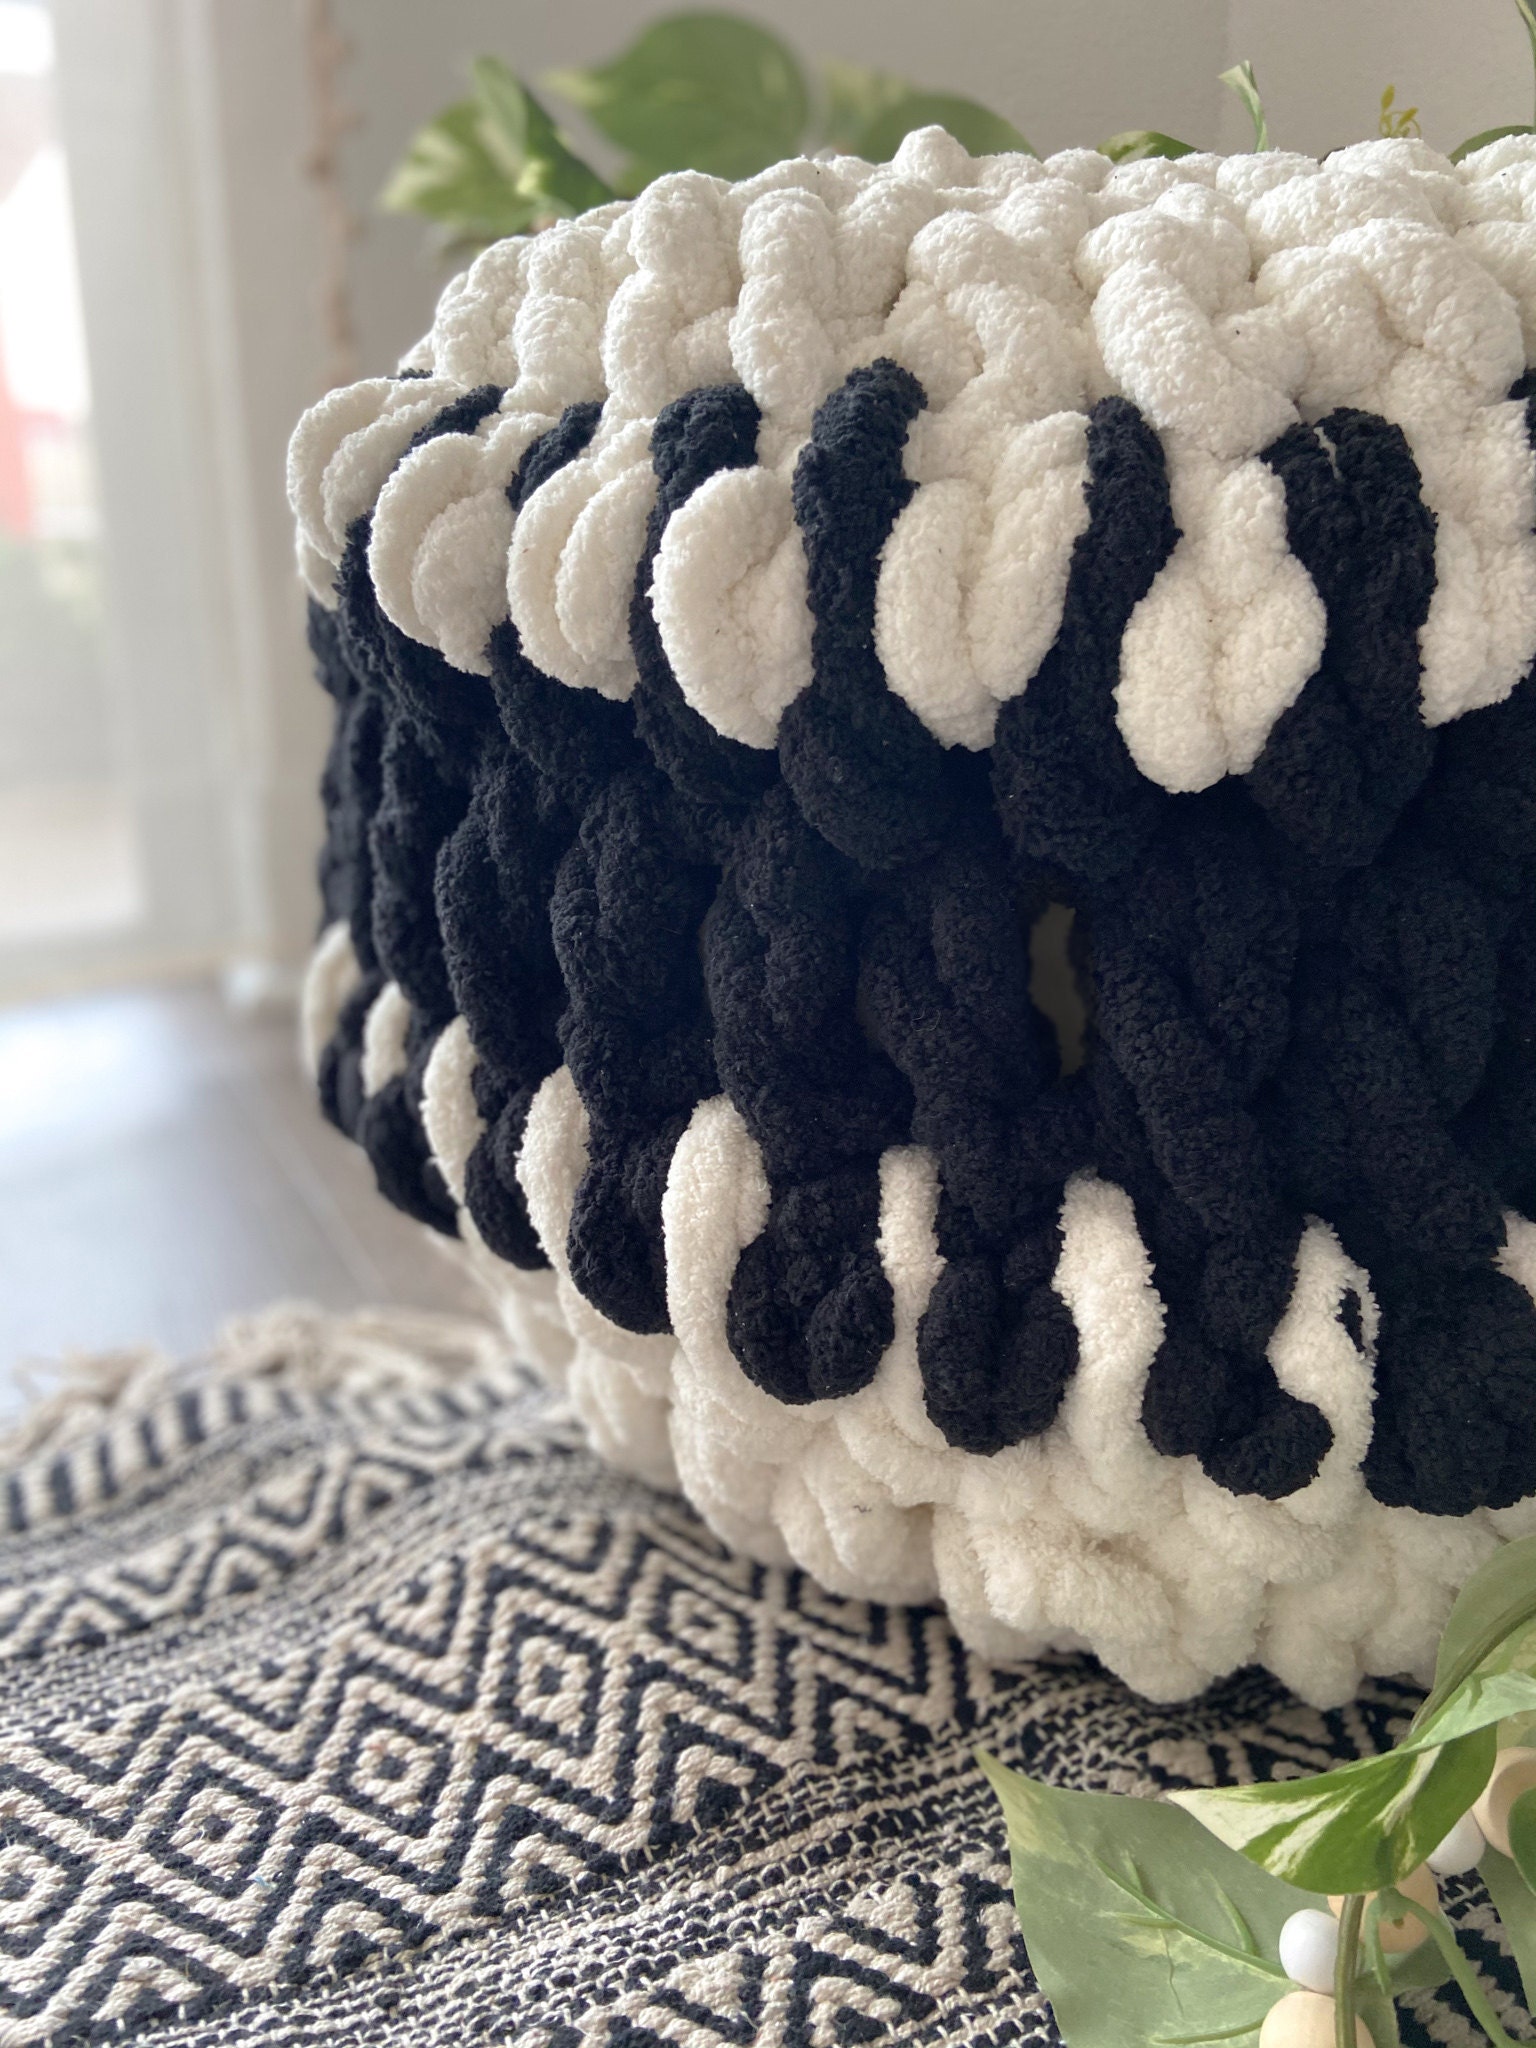
This two-toned large crochet pouf is quick and easy to work up!
It's the perfect piece of crochet decor to make any space cozy and boho.
Make sure to tag me @KnotForU when you posted your finished pouf, I can’t wait to see them!
Supplies
- 25 mm hook size
- 3 Balls of Bernat Blanket Big in the main color
- 2 Balls of Bernat Blanket Big in the secondary color
- Rolls of foam/old pillow topper for stuffing about 12" in height
Stitches:
- CH- Chain
- SC - Single Crochet
- SLST - Slip Stitch
- HDC- Half Double Crochet
- HDC2TOG - Half Double Crochet two stitches together
- HDC Spike - Yarn over your hook as you would a HDC. Instead of going into the stitch of the DC from the previous row, you’re going into the base of the DC, this is essentially the stitch from two rows ago, the row that was done before the row of DC you just finished, pull a loop through, yarn over again and pull through the 3 loops on your hook completing a HDC. Keep your working yarn to the left side of the DC you’re spiking. Here’s a video for a better explanation, the video is for as SC spike, so be sure to add the extra starting loop before going into the stitch. Here's a helpful video for added reference.
Notes:
- Make sure to chain 1 after every row and turn your work.
- Warning - using a pillow top or rolls of foam for the stuffing will make a pouf that is not suitable, it’ll cause you to sink and possibly fall.
Pattern:
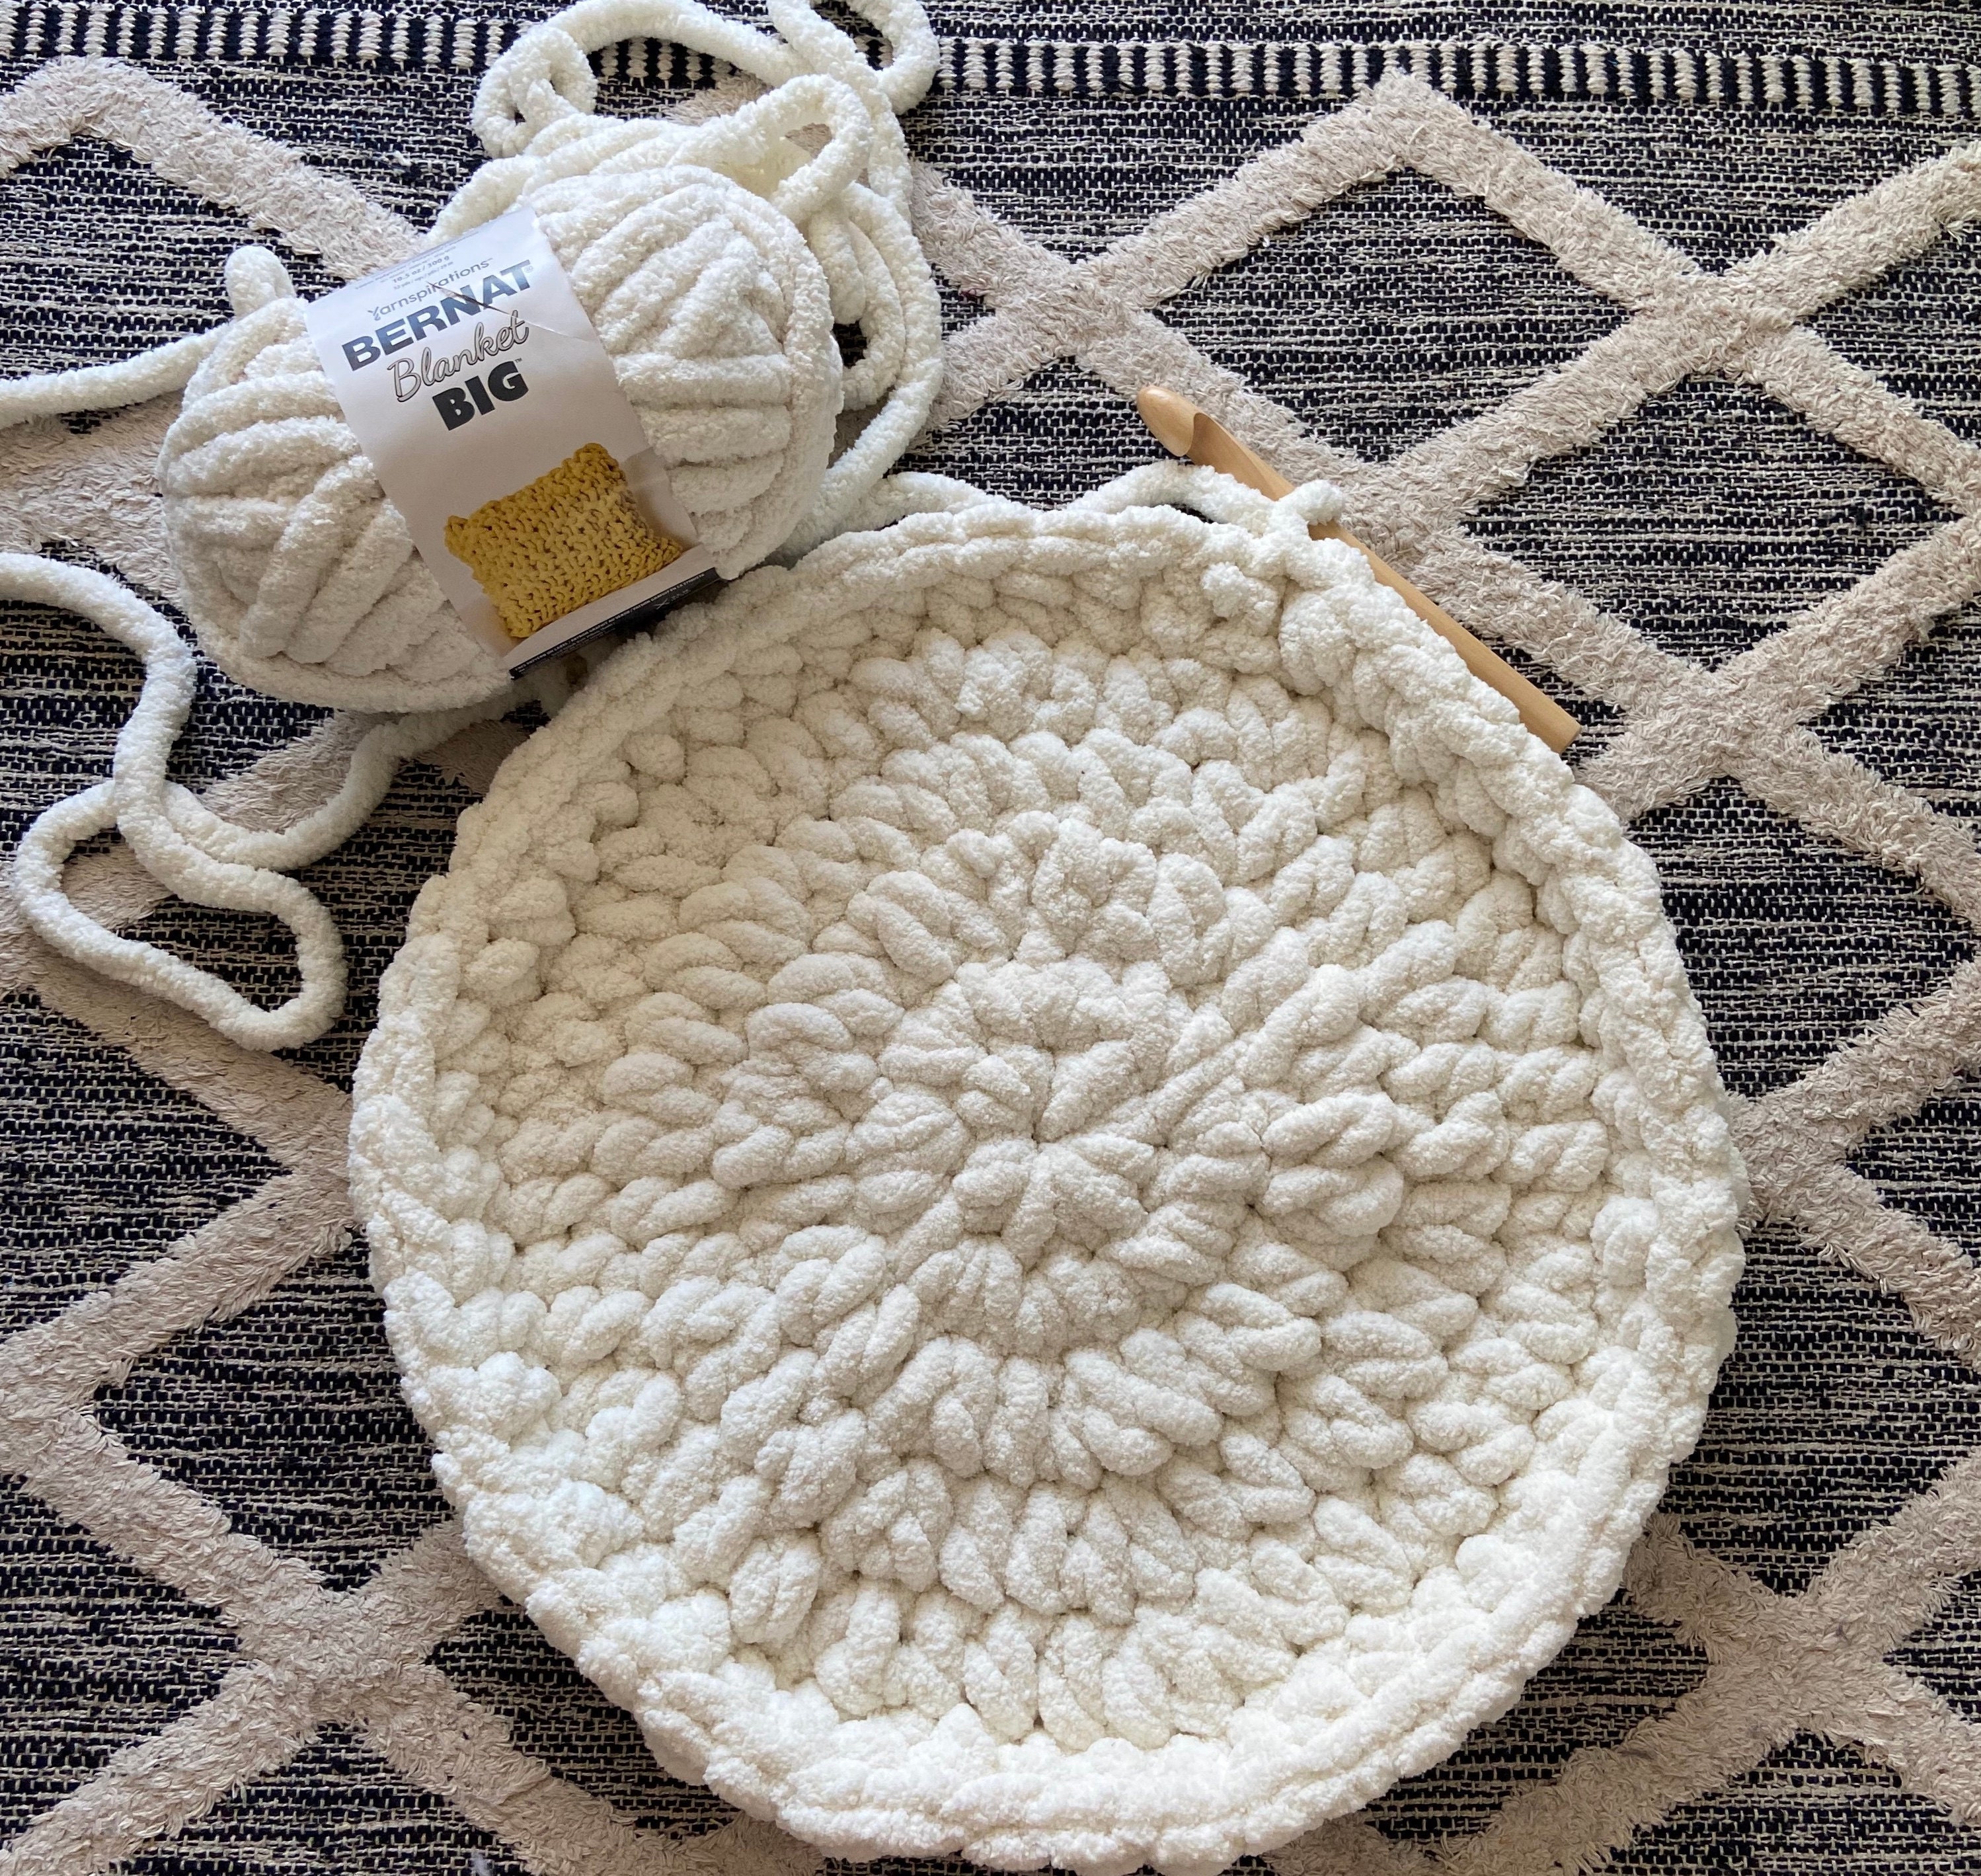
Making the Circle
Use main color yarn.
Making a circle: CH2 and SLST together. CH1 1.
Row 1: Put 10 HDC and SLST together. CH1, turn.
Row 2: 2 DC in each stitch. SLST into the first DC of the row. CH1, turn. (20 HDC)
Row 3: *1 DC into the stitch, 2 DC in the next stitch. Repeat from * all the way around. SLST into the first HDC of the row. CH1, turn. (30 HDC)
Row 4: *1 DC in each of the next 2 stitches, 2 DC in the next stitch* repeat all the way around. Repeat from * all the way around. SLST into the first DC of the row. CH1, turn. (40 HDC)
I stopped here but if you want your pouf to be even wider keep increasing the size of the circle by adding a single HDC into the next stitch before doing the increase.
So the next row would look like this -
*DC in the next 5 stitches, 2 DC in the 6th stitch, repeating from the *all the way around. (50 DCs)
And the row after would look like -
*DC in the next 6 stitches, 2 DC in the 7th stitch, repeating from the *all the way around. (60DCs)
Working the Sides
When you’re ready to start working up the sides you will no longer increase. The number of stitches you have on your last increase row will continue to be your stitch count for every row that makes up the side.
Row 1: DC in each stitch. SLST into the first DC of the row. CH2, turn. (40 DCs)
Row 2: DC in each stitch. SLST into the first DC of the row. CH2, turn. (40 DCs)
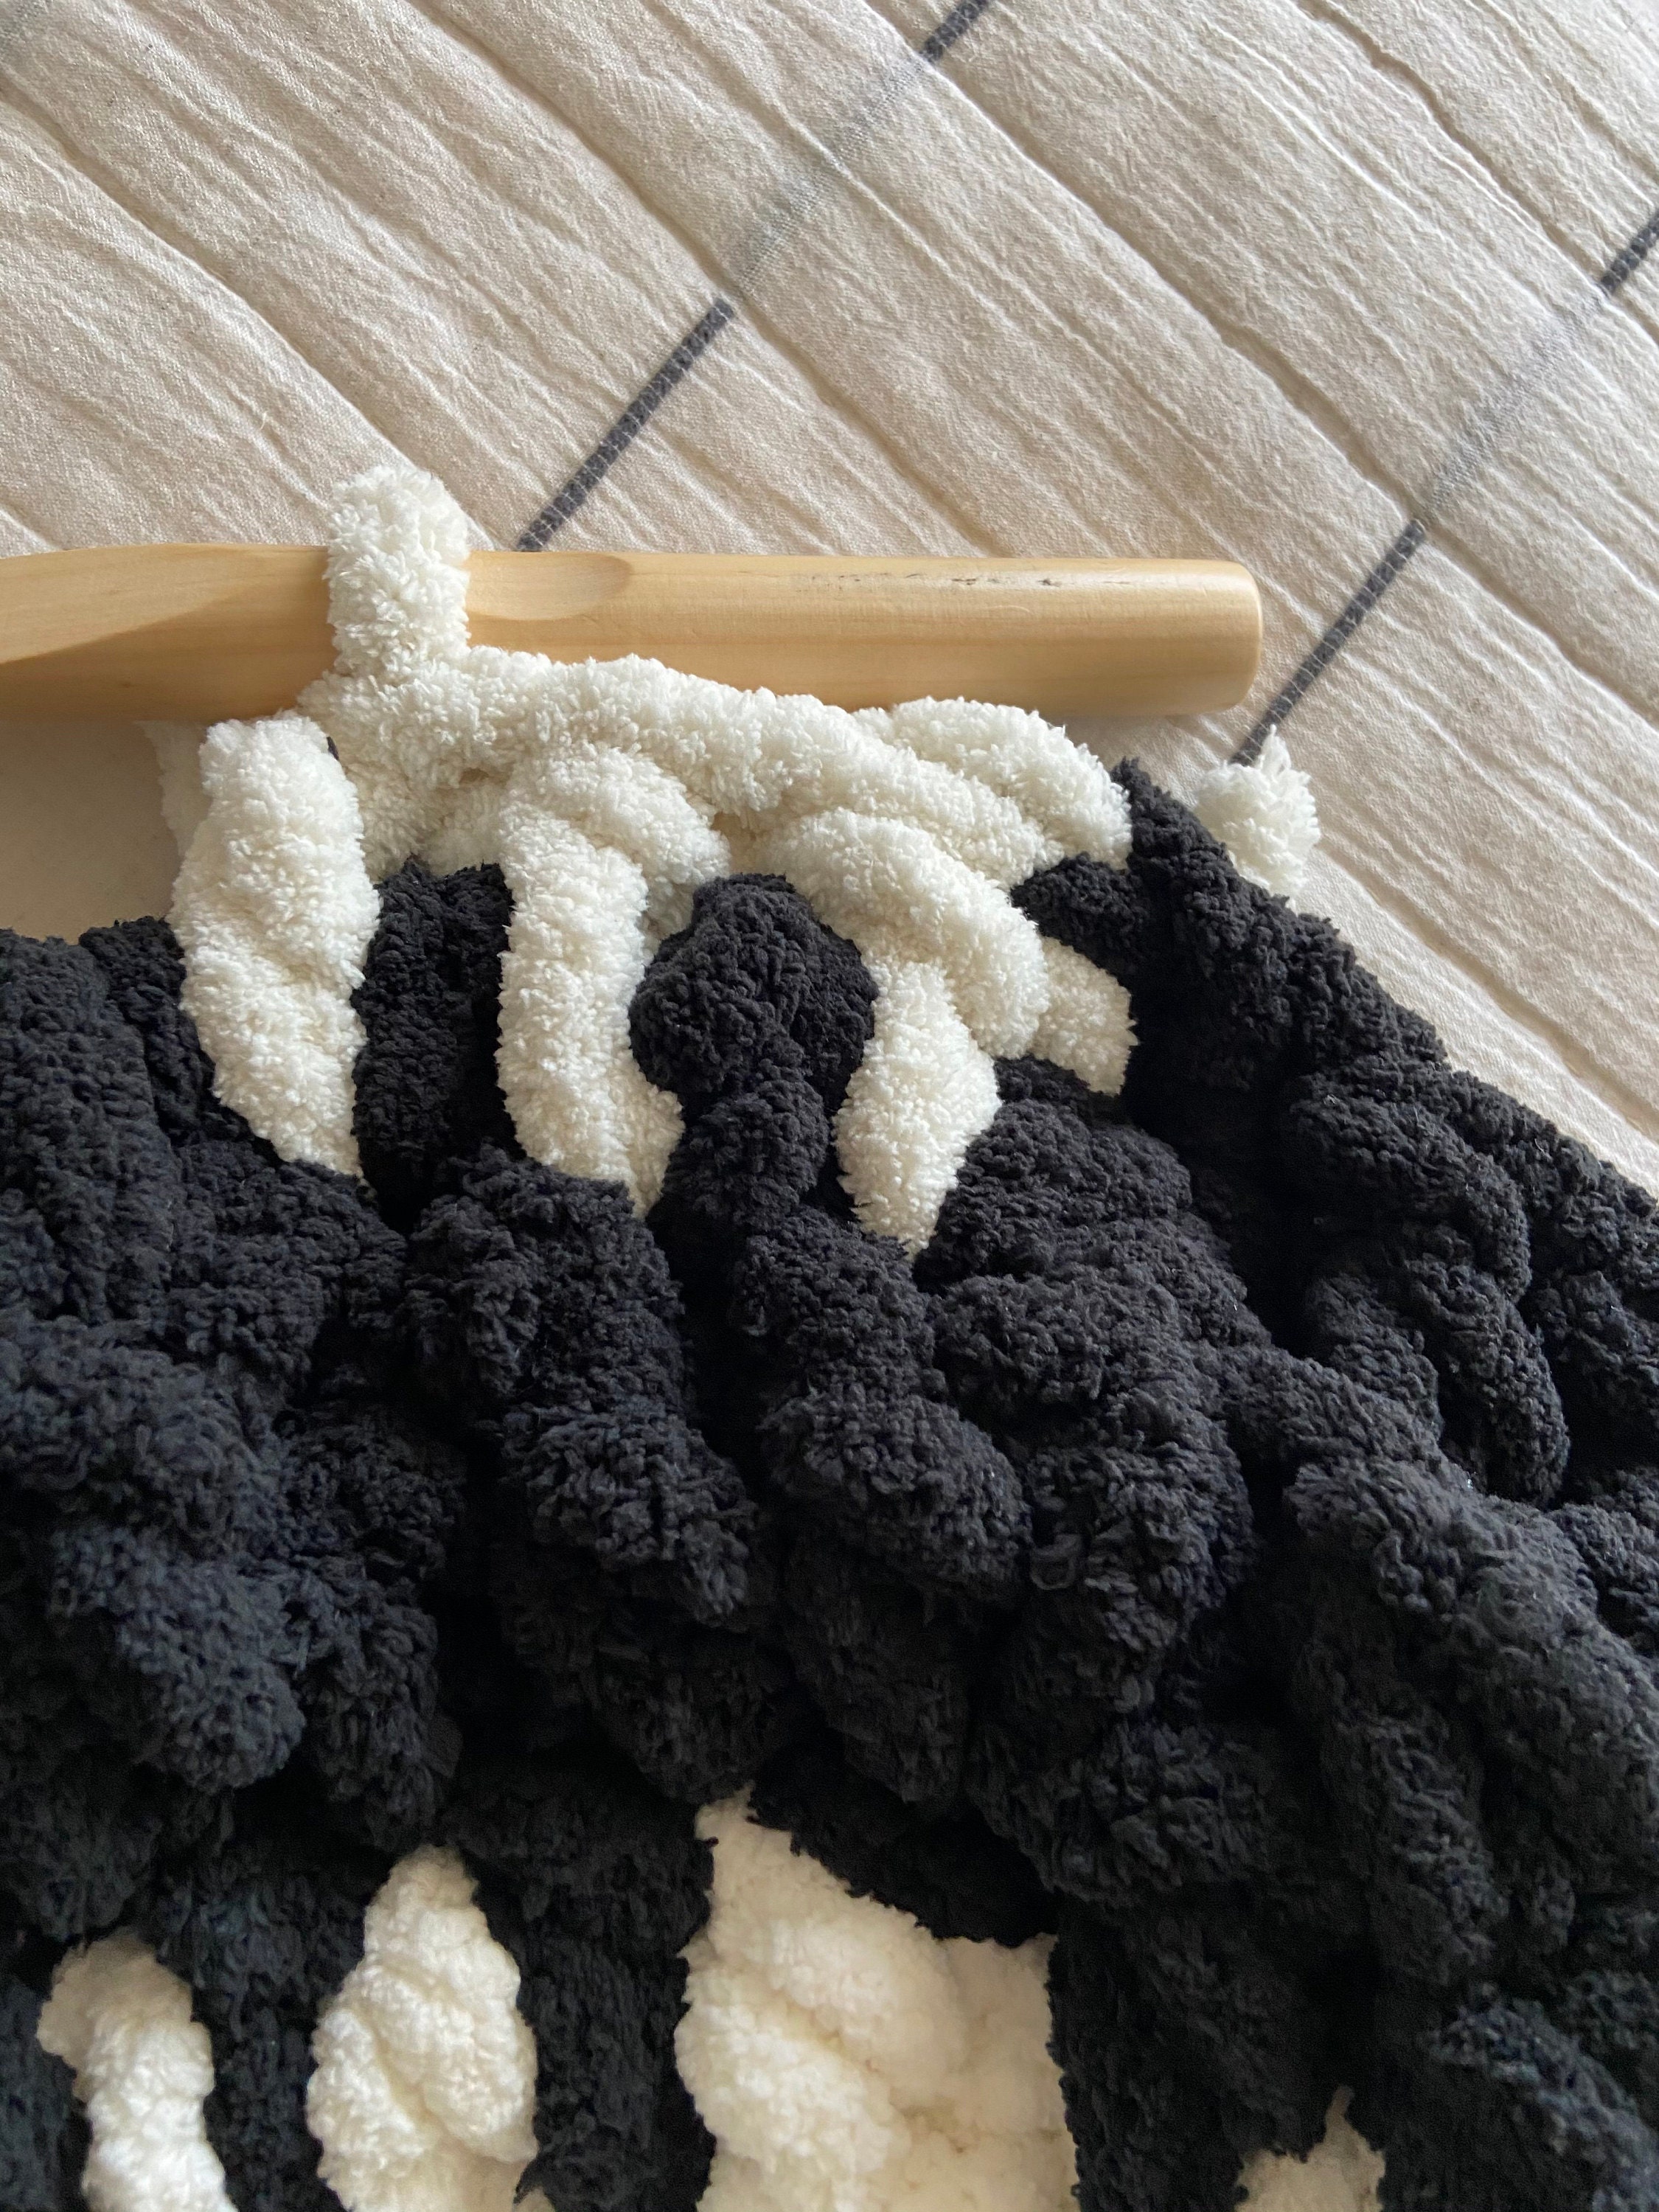
Change to your secondary color. I cut the yarn from the main color and tie a tight knot to connect the second color yarn. Rows 2.5 - 4.5 will be worked in the secondary color.
Row 2.5: 1 SC into the first stitch. HDC Spike into the base of the first DC stitch and the rest of the stitches. SLST into the starting SC of the row. CH2, turn.
Row 3: HDC in each stitch. SLST into the first DC of the row. CH2, turn.
Row 3.5: 1 SC into the first stitch. HDC Spike into the base of the first DC stitch and the rest of the stitches. SLST into the starting SC of the row. CH2, turn.
Row 4: HDC in each stitch. SLST into the first DC of the row. CH2, turn.
Change back to your main color with a knot to attach the yarn. The rest of this pattern will be in your main color.
Row 4.5: 1 SC into the first stitch. HDC Spike into the base of the first DC stitch and the rest of the stitches. SLST into the first HDC of the row. CH2, turn.
Row 5: DC in each stitch. SLST into the first DC of the row.CH2, turn.
Closing the Circle.
Before starting the decreasing rounds to close the pouf, you need to stuff the pillow!
Cut your foam to the appropriate height,oll the foam and use a piece of yarn to hold the foam rolled up tightly so you can stand and stuff the pouf.
Now you can start decreasing in a similar pattern to how we did the increase.
Row 1: *1 DC in the next 2 stitches, use the next two stitches to DC2TOG. Repeat from * all the way around. If you end up with an extra stitch, undo a few stitches you can add the row an extra DC2TOGs. SLST into the first DC of the row. CH1.
Row 2: *1 HDC in the next 1 stitches, use the next two stitches to HDC2TOG. Repeat from * all the way around. SLST into the first HDCof the row. CH1.
Row 3: *Use the next two stitches to HDC2TOG. Repeat from * all the way around. SLST into the first HDC of the row. CH1.
Row 4: SC in each stitch around.
Cut your yarn leaving about 10 inches of yarn as a tail. Tie off the yarn.
Loop the tail in and out of each of your stitches, carefully pulling the yarn tighter as you add more stitches to close the circle. Careful not to pull too hard or the yarn will rip.
Make sure you secure the tail together with a knot. Trim the end and tuck it into the pouf.
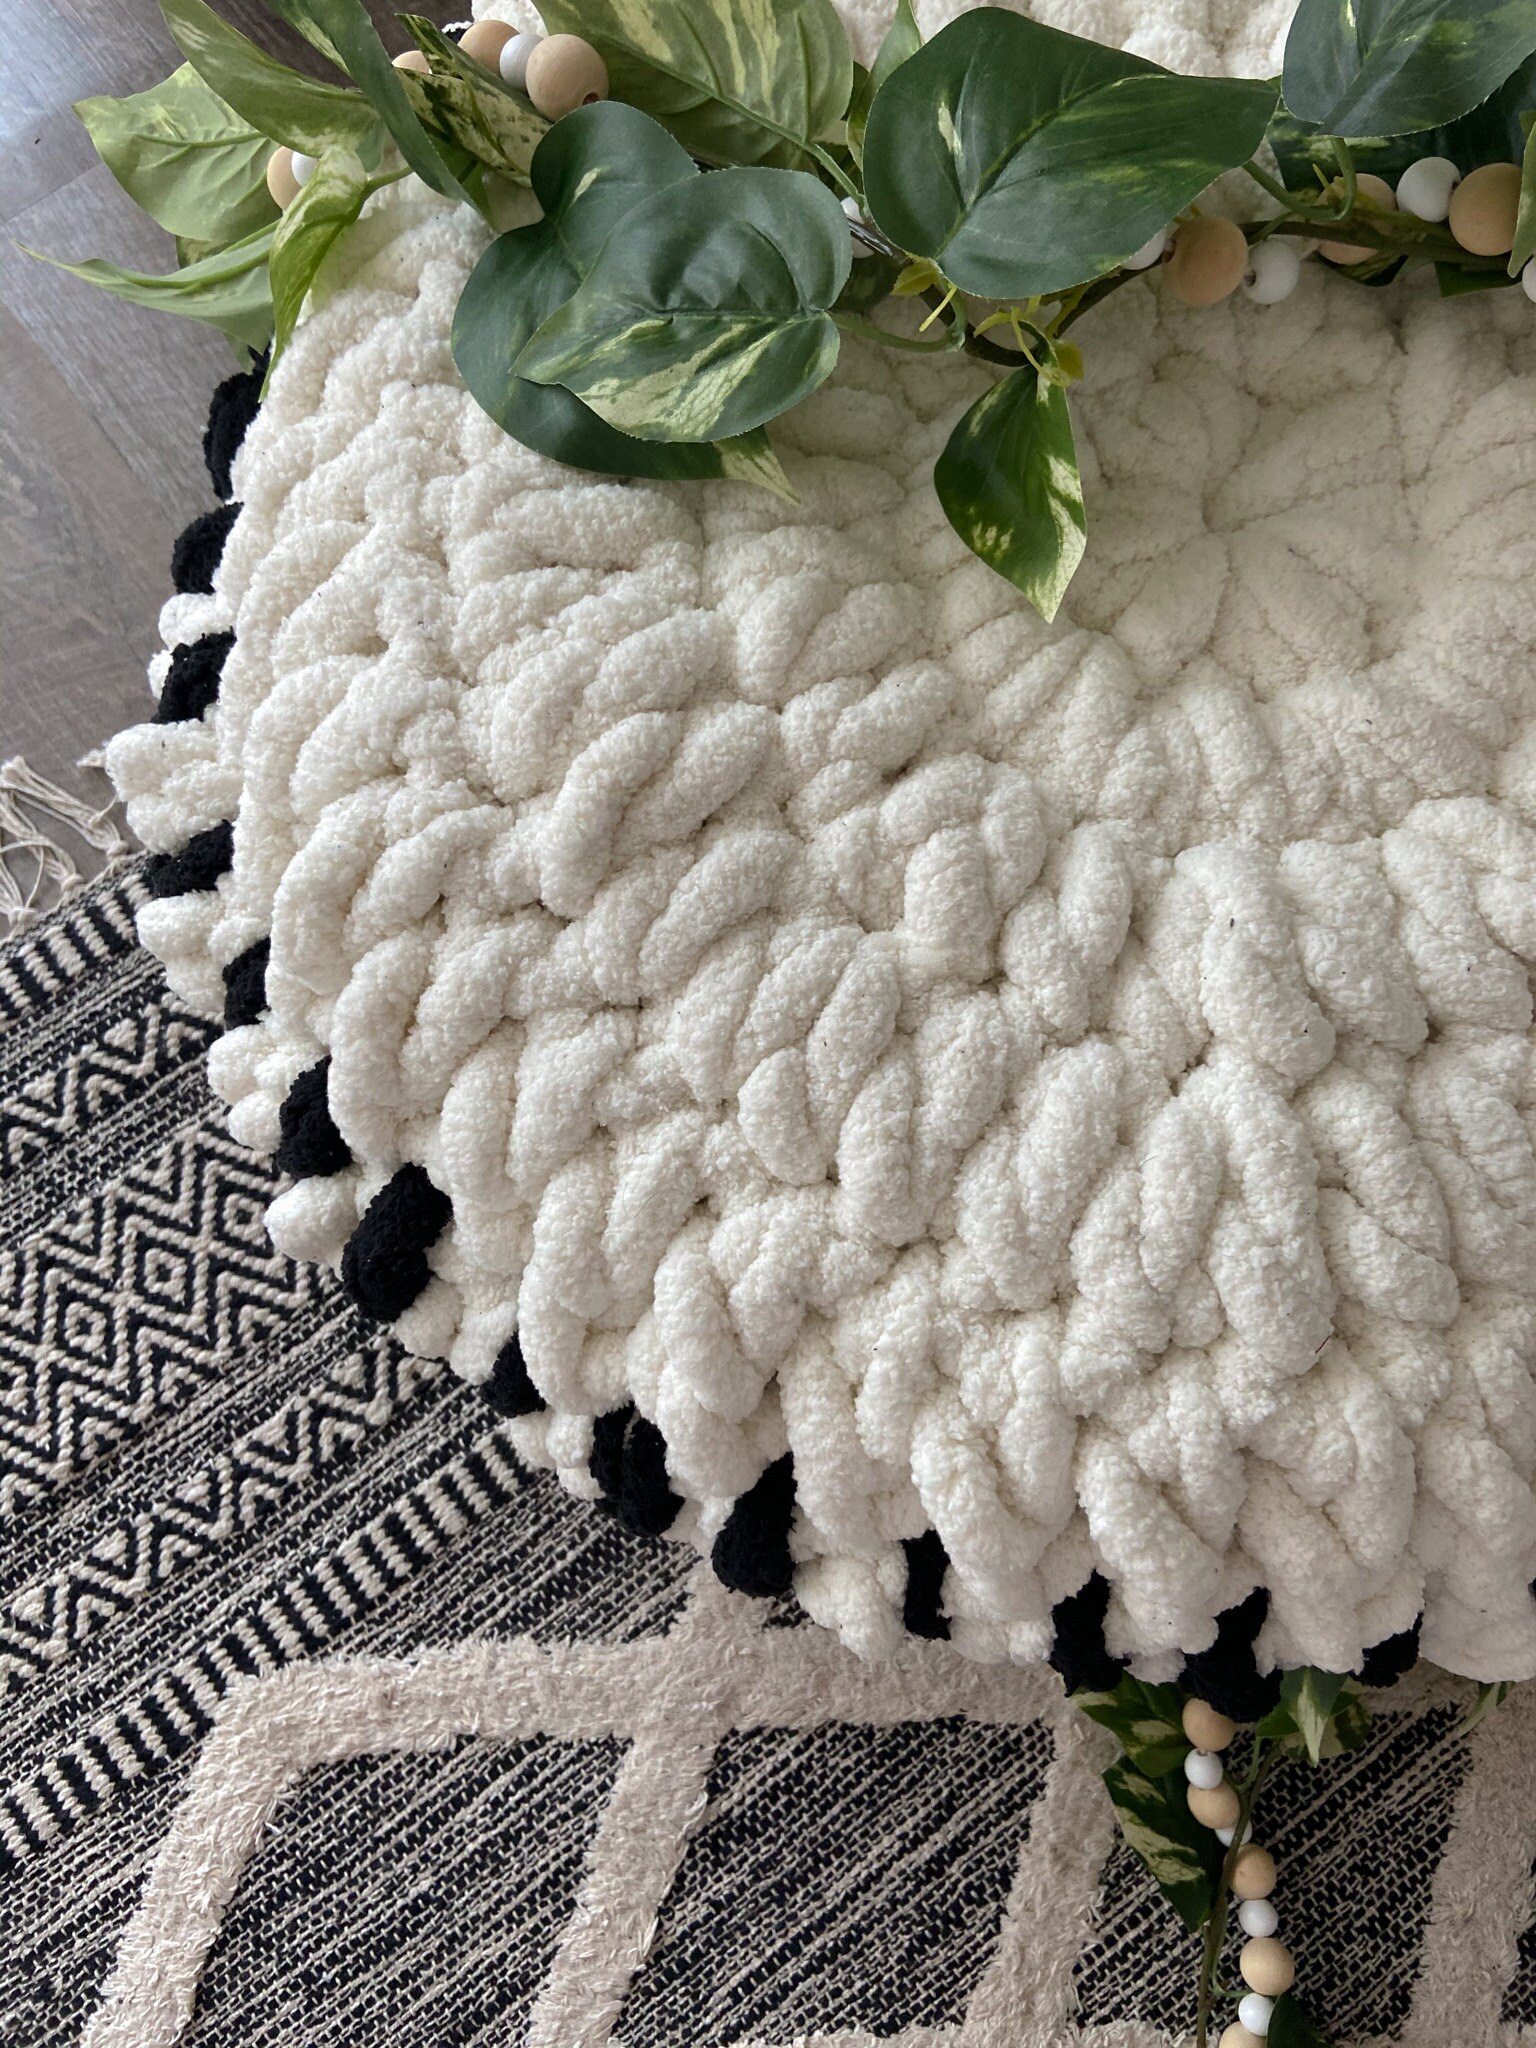
I went in between some stitches and carefully cut the string that was holding the rolls together to allow it to expand and give it an extra poufiness. Fluff up the pouf, and you're done!
Be sure to tag me in any pictures you post so I can see your beautiful pouf with @KnotForU.
Thanks for following along! Make sure to follow me on Instagram, Facebook, and TikTok to see what’s new with my shop and fun ways to incorporate crochet wear into your wardrobe!